
Hey, it’s Alina aka alinalove writing and bringing you my experiences of my first half year of digital pocket scrapbooking. This is actually not my first year. I tried it last year and failed miserably at following through. Week 13 in 2013 was my last one and looking back, it was no miracle I couldn’t finish the year up. I will come back to that later. What you will know after reading this article is what my stumbling blocks and stepping stones were to my half year success. And you will know that I’m not made for long time projects. So just be sure that even when you are awfully behind, have close to no photos or journaling of the yet unscrapped weeks, you can still catch up and follow through if you want to. If I can do it, you can do it, too. Let me inspire you to find a new start!
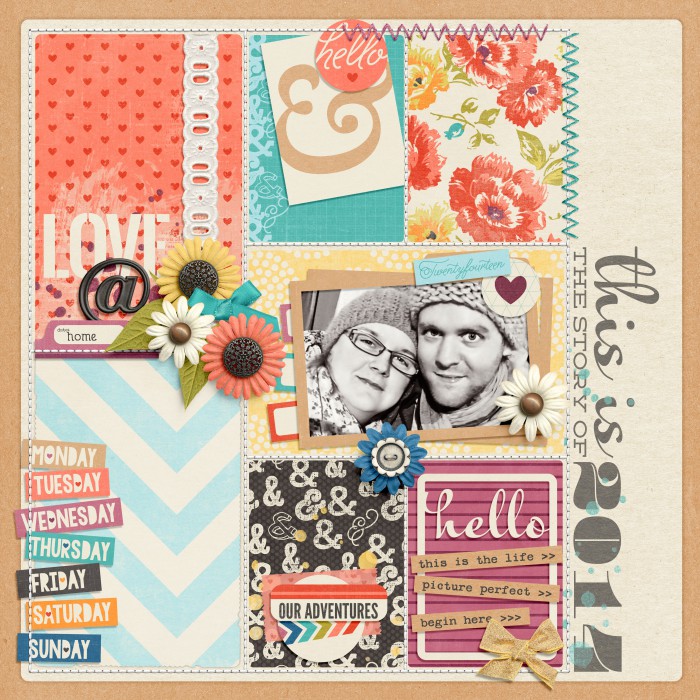
My front cover for the book.
Starting a New Year Beginning something is always easy for me. I suppose you can relate. Everything is fresh and exciting. I have lots and lots of ideas in my mind how, when and why I want to do it. I knew right away that I wanted to keep most of my rules open. When I am thinking of a long term project, I want to look forward to trying new kits, new colors, cute embellishments. If I make my rules too narrow, I will get bored easily. So I chose to have only two rules: 2 pages per week and using the same kind of templates through the whole year. I had some other rules on a mental note but I couldn’t keep up with them. E.g. initially I wanted to set a color scheme or at least one color per month. This wasn’t working for me, as I’m always convinced I need THIS SPECIAL KIT for the coming week and the colors aren’t as important anymore. I also wanted to use more of the theme specific stamps and wordarts. This just wasn’t happening because it took too long for me to decide which items I would be using on this particular spread. There are too many choices, too many cute kits. Did you set up some rules for your new year regarding your pocket scrapbooking? Did you stick to all your rules?

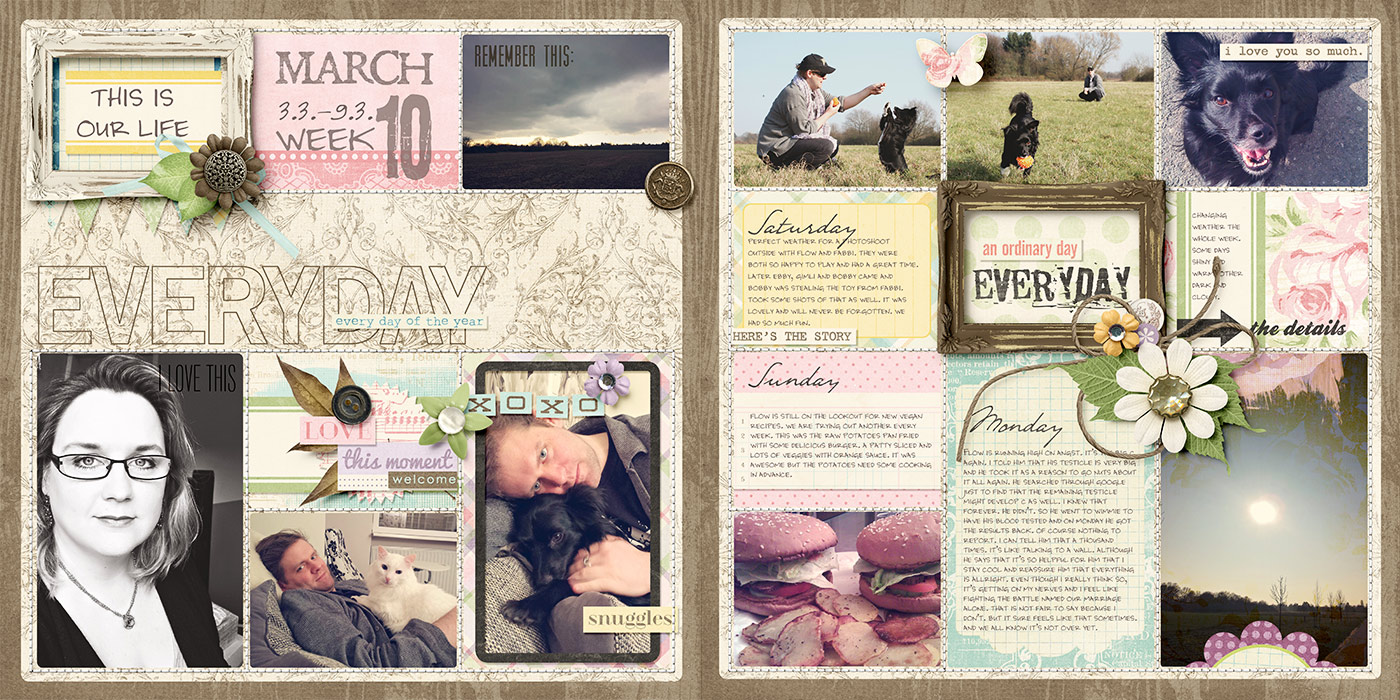
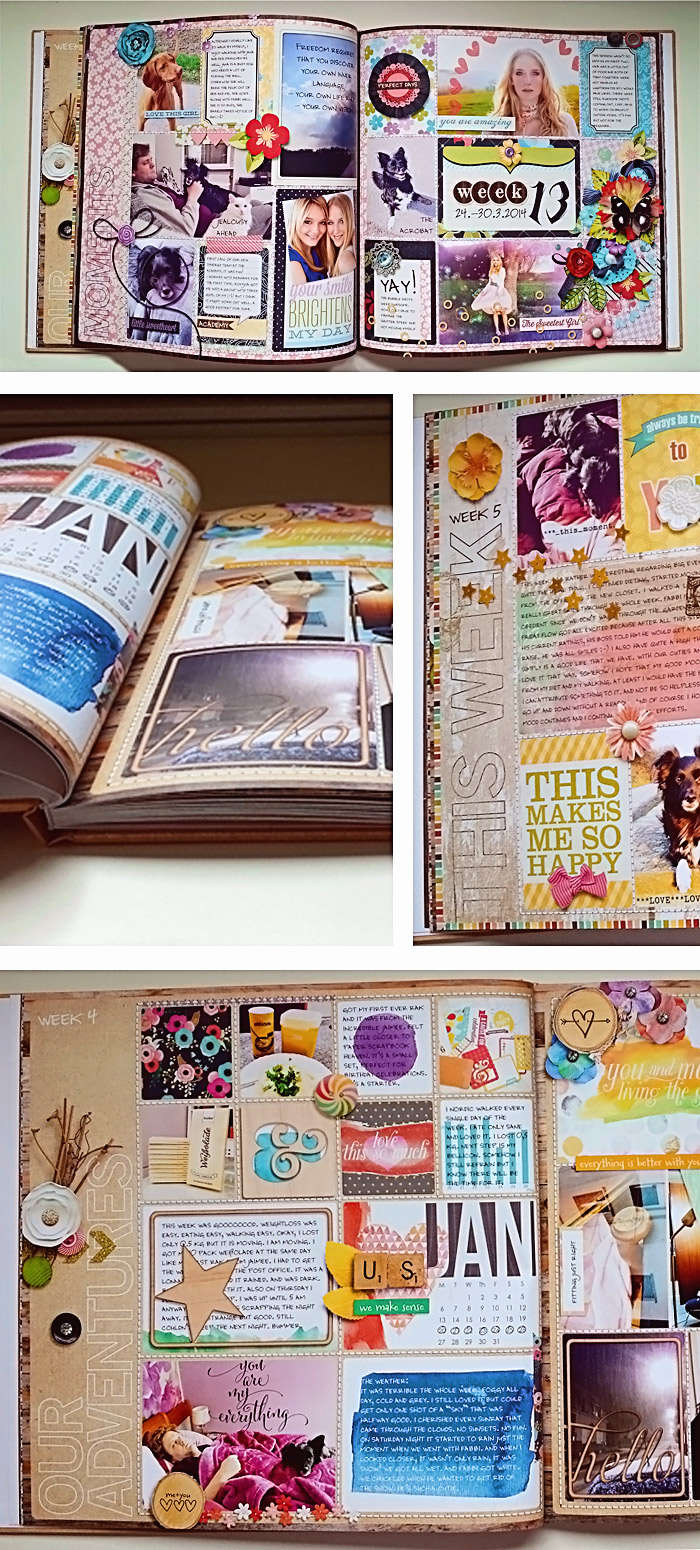
Last week of being caught up.
Falling Behind In February it happened. I just stopped making my spreads. I had other projects beginning at that time just like last year and it sucked up all my additional energy for my creative outlet. And later, even if I had the time, I had no spark to continue. In May I realized, that if I want to finish my year, I have to get up and do something.
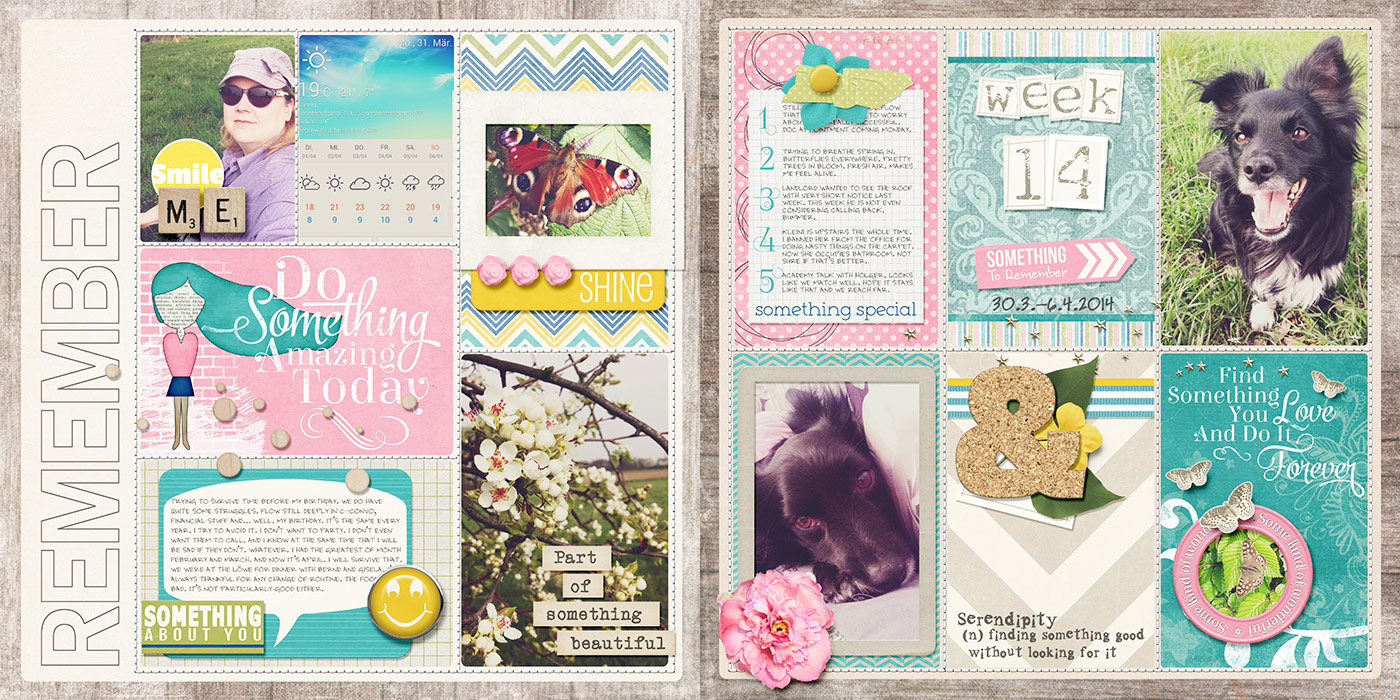
First week of catching up. Also becoming more minimalist. Not too many photos.
Catching Up I’m not a big planner or organizer anymore. I had been and all the planning and organizing took a whole lot of time and energy but I was never following through with my intentions. On one hand this is great, because I just “do” things instead of wondering for a long time how I would do it. On the other hand my projects might get a bit messy at times. And that is what happened here. I had some photos for most of my weeks. For one week or two weeks, there weren’t many of them. Additionally I had close to no journaling taken through the weeks that I fell behind. So what could I do? I used what I had. I took my photos, asked my husband to provide his and sometimes used pictures from the internet if it was fitting. To get an idea what was happening through the weeks, I consulted my calendar and emails and also asked my husband what happened in his week. I started from my first week that was undone and slowly crawled my way up to week 26. It took me about two months to catch up with 16 weeks. The closer I got to the current week, the easier it got because I had more info in my head and in the later weeks I got more aware of taking photos for my project. I also noticed that the more I proceeded, the more minimalist my spreads got. Speaking of consistency. Well, no, not me. I had two weeks that were dominated by an exhausting event. My dog was sick. I took mostly photos of him and us waiting for him to be treated in the vet clinic. While these were important weeks for me with lots of insight, I still didn’t want to “spam” four pages with the same content. I decided to break my rule of two pages per week and made two pages for two weeks. How do you catch up on your project? Do you have any tips and tricks for me?
One of the weeks when I had very little photos and not much journaling at hand. Still love that week scrapped.
Motivation There are two ways for me of looking at motivation here. One is the general motivation, why I do my weekly spreads and the other is the not too literal kick in the butt why I continued in May. I know that many of you doing pocket scrapbooking have your kids in mind. You want them to know in years ahead what their childhood looked like, what you did together, how much you love(d) them. This is a perfect motivator to keep on scrapping. Since we have no kids, this can’t be my reason. I don’t want to bother you that much with all my reasons why and only mention two here. It’s just that everytime I look back at an event I can’t remember when it was. That’s pretty much it! I seem to have a partial dementia when it comes to past things. I don’t remember that much. Life seems to have passed by and I wasn’t in it. I remember my first attempt at pocket scrapbooking last year, when I suddenly remembered everything that happened during the first weeks. That was so relieving and making me happy. Pocket scrapbooking is my diary. Beside that I just love scrapbooking and working with pretty things. These are my biggest general motivators. I had several motivators to get me up from my slump. First I knew that I would be writing this article. How should I do that without having made my spreads? I also knew that I wanted to print a halfyear book. I love to have my year in two books because it makes me look back at the first six month and reconsider what I want for the rest of the year. It’s like a new year in June. Looking forward to having my book printed (for real!) made me go even faster. What could your kick-butt motivator be to make you continue with your project?
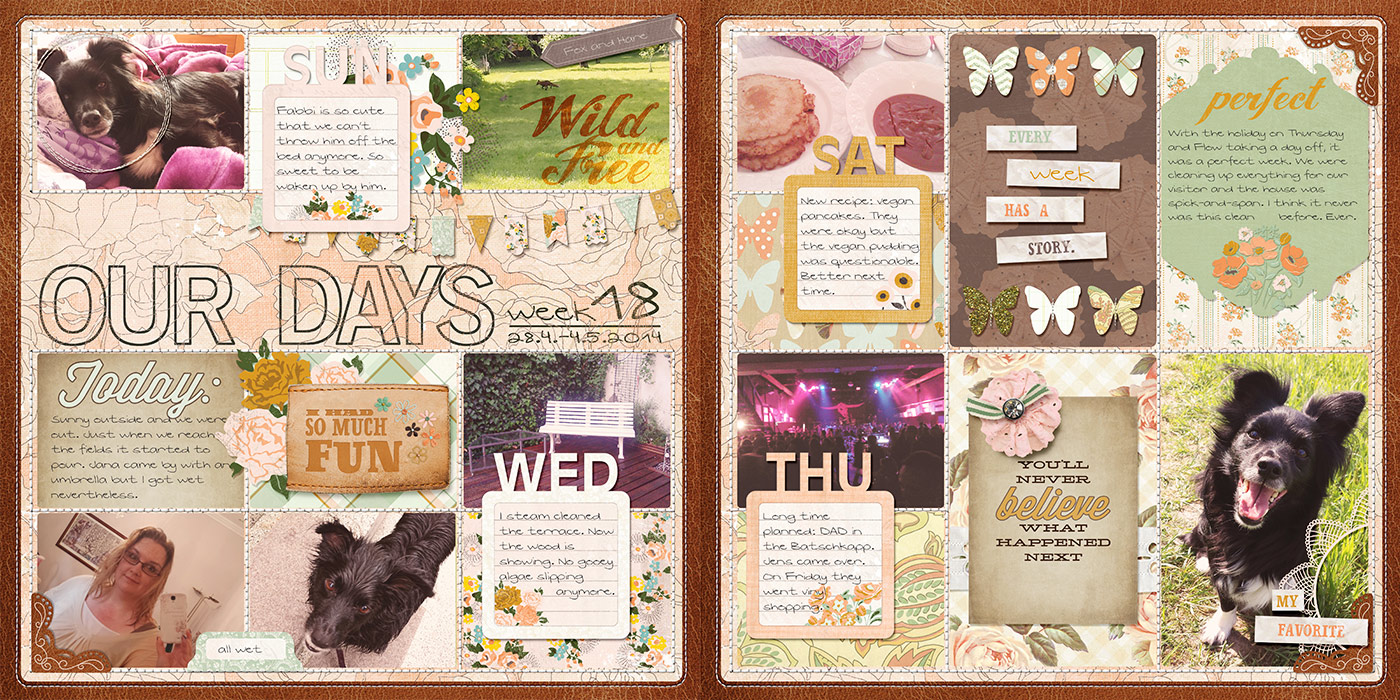
MInimalist me taking over again. Starting with more pictures for the spread.
Outlook for the next 6 months What do I want to keep on my journey to the full year and what will I discard? I do go along with my project a little randomly. I like it that way, it’s just how I am. I do embellish a lot, I do process all of my photos for a consistent look in a week. And yes, all of that takes a lot of time. I know it would be easier if I took one look and replicated it through the whole year. Sounds boring to me though. I might let go of the large scale embellishing. I have to have something 3d on my pages to make me happy, maybe it doesn’t have to be that much to still make me smile. I will keep on with the two pages per week and the same templates. I will rethink that for next year. I really want to be up to date with my weeks but I know this won’t always be the case, so I just don’t promise myself or I will be dissappointed. I have to keep it open as much as I can to be able to finish this time.
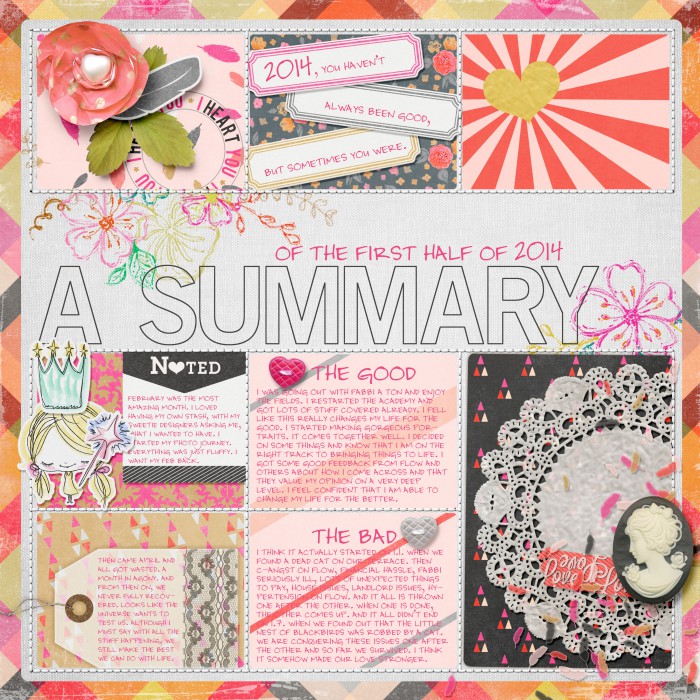
Last page for the half year book. It was so relieving to have the 6 months closed.
Just Do It! My approach to this kind of project might differ to many others, because it’s very open, unorganized and random. I made the project my own and do it although I’m not perfect at taking notes and photos. There are lots of styles out there and looking through them I like all of them because I can see the person behind the project peeking through. I hope I could inspire you to get your project on your desktop again or sparked a new motivation to get going with more fun! Don’t believe that your spreads have to be perfect in any way. Just let them represent your life!
My first half year in printed form 🙂
If you want to browse through my weekly gallery, here is the link to my pinterest board. You will also find descriptions to most of the stash I used. Thank you so much for reading and stay tuned for more tutorials and inspiration on Gen’s blog!


